Behind the Bridging® Magic: What Does a Session Look Like?
This week we want to show you how the parts of the Bridging® process come together. Recent posts laid out the problem-solving process and the reset process, but what does this really look like when you are in a session?
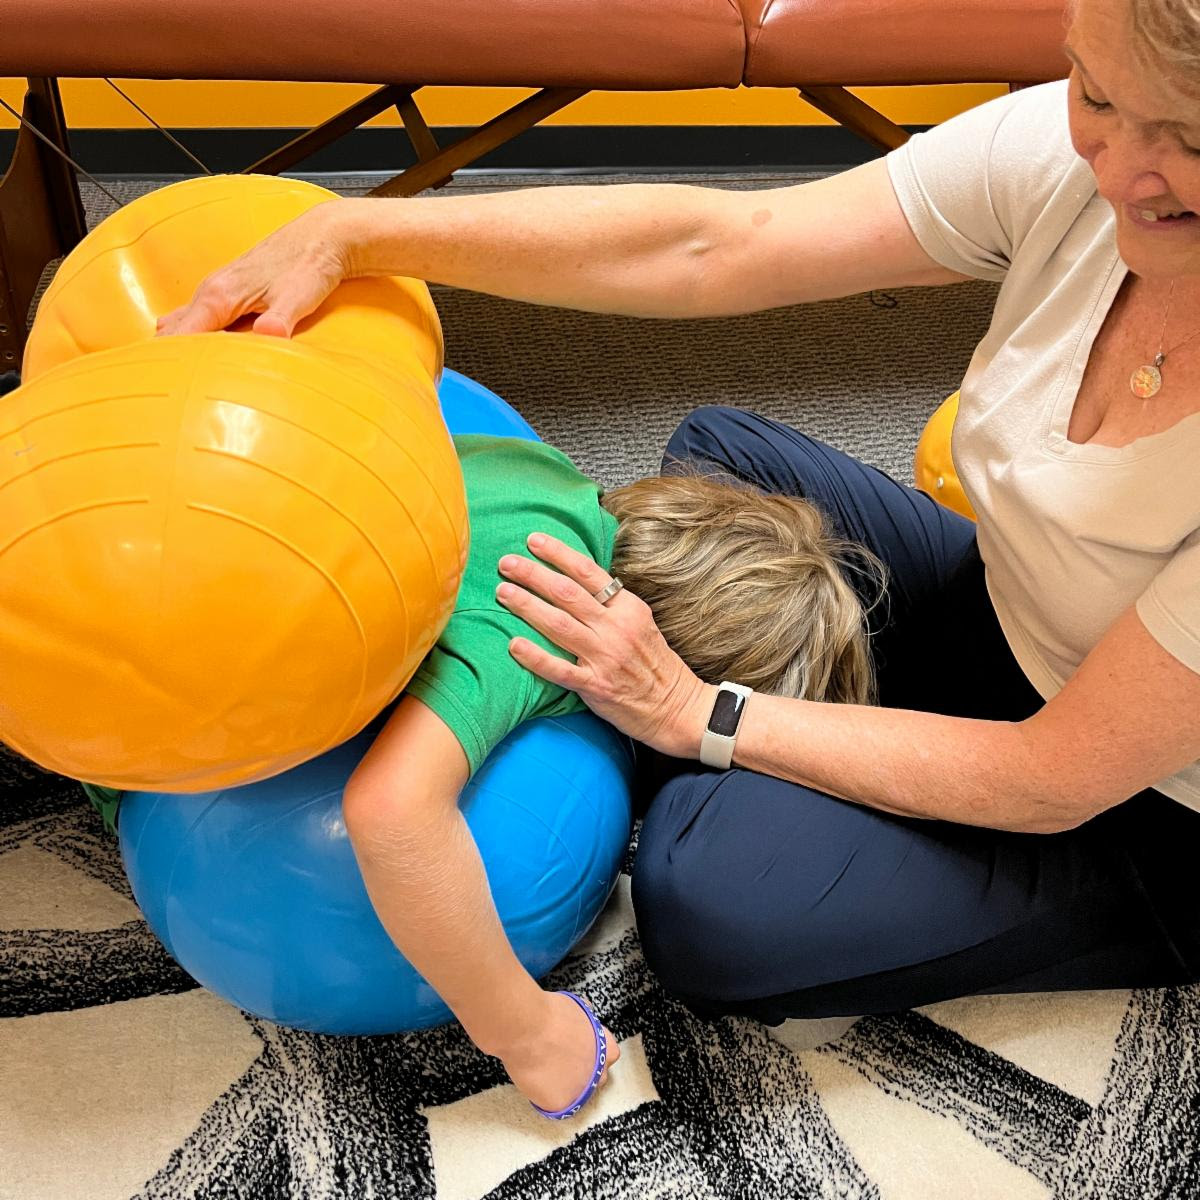
Depending upon your age it will vary, but here are the basic elements of a session. (The photo is from a recent session with an 8 year-old. We definitely had some fun!)
Read on …
Bridging®: What a session is like
When we first meet you likely have unresolved pain or a hard time moving. This is typical if you are a teen, adult, or older adult.
For the younger children we meet, they often have behavioral regulation challenges or an elusive or late developmental goal.
Using passive movements, we check if the body moves in specific directions which correlate to larger movement patterns. In any case, we generally follow the same session process with variations for the current situation.
Gathering clues from your past and from your movements
The first stage of the process is gathering information about what has happened to you in the past. Yes, events from years ago, including your birth, provide valuable clues to your current challenge.
The second stage is assessing how your micromovements are working today. As part of this process we also take photos for a visual check-in, and to compare with later.
Problem-solving comes next
The third stage of our Bridging® process, the deductive stage, is where the magic happens. The problem-solving insights consider three inputs:
- how movement flows SHOULD be happening (our expertise!)
- how movement flows ARE happening
- the disruptive events from your history
This problem-solving lets us identify the most probable muscle resets to provide the fastest and most comprehensive solution for you.
How we discover missing clues
When information doesn’t add up, we help you recall what may have happened. This may seem like we are psychic, but it’s really taking the body’s movement into account and finding the story about what happened. Many times it’s something you forgot happened, but it had an impact.
The Bridging® muscles resets
Once we devise a plan based upon the problem-solving, it’s time for some muscle resets. The gentle, stretch-based muscle resets look like a series of Hugs, Rocks, and Wiggles.
These are some of the key reset process considerations:
- Positioning: Sitting, lying on side, stomach or back, or some combination.
- Area of focus: Where do we begin supporting? Are there traumas to support, such as a prior injury, a surgery, or something from early development?
- Use of supports: Do we use peanut balls, and which ones, for best support?
Lastly, a re-assessment and next steps
Once micromovement symmetry is restored, we do a re-assessment to observe overall improvements, and any remaining areas of concern. There are often layers of resets when there have been multiple disrupters in your past.
We determine and recommend next steps, as needed, to reinforce the initial changes, and address additional movement disruptions. And often take a photo or two to compare to the beginning of the session.
What you feel at the session end
Symmetry, flow, and control result from the process. Everyone is amazed at how gentle and subtle the process feels. And, you leave a session feeling calmer and moving better!
Of course, there is some hard core science behind what the Hug, Rock and Wiggle represent. That is part of what we teach in our Intro to Bridging® course. The next date is November 8th. Want more info?
Insight of the Week from Cara
Sometimes the best way to describe Bridging® is by example. Karen broke her leg years ago, and I shared this example several weeks ago.
We have since had a chance to do a follow-up session. Between the two sessions there are lots of examples for observing the full Bridging® process, and how the next steps are based upon a movement progression from early development.
Bridging® framework is based upon infant development
The hierarchy of micromovements is based upon progressions from early development. These foundational movements are essential, and there is a natural progression to them.
To reset your micromovements, we need to rebuild the progressions within the hierarchy to ‘remind’ the body how the layers of movement interact.
The upside of taking this approach? The movements are self-reinforcing. This is why Bridging® has no homework in order to work.
In the first video session
What you will see in the first video is a quick recap of what she hopes we can help with (goal), what’s happened recently (meniscus tear), and what’s happened in the past (broken leg with full leg cast).
You see an abbreviated example of assessment and problem-solving, followed by the Hug/Rock/Wiggle process detailed in a recent post.
In the second video session
In the second video, you will see a quick check-in, find out what’s been going well, and where there is still room for improvement.
One difference is the way her leg is supported. The side-lying position allows the muscle resets to connect more complex function of the leg segments.
Ideally, there is one more layer and position to reset–positioned on the stomach. This allows the resets to restore the leg and foot movements originally developed as a baby pushes up to crawl and walk.
For all ages and stages
The basic nature of the movements Bridging® restores holds true for all ages. It may look like we are doing something different when working with a 4 year old versus a 40 year old, but in reality, the reset progression is the same.
The main difference between age groups? Kids change faster. But kids need follow-up as they grow.
Yes, you (or your child) can move with ease and confidence again!
Hopefully, this adds to your understanding of what happens during a Bridging® session. If you have another question, I’d love to know.